In today's digital landscape, the seamless integration of web and mobile experiences, including the ability to convert website to Android app, has become increasingly important. As the usage of smartphones continues to rise, businesses and developers are seeking innovative ways to engage users on multiple platforms. Converting a website into a native Android app is a strategic move that can provide numerous benefits, such as improved user engagement, enhanced brand visibility, and access to device-specific features.According to statistics, mobile apps are expected to generate over $935 billion in revenue in 2023.This comprehensive guide aims to walk you through the process of converting your existing website into a fully functional Android app. Whether you're a seasoned developer or just starting out, this guide will provide you with the knowledge and tools necessary to successfully undertake this transformation.
How to Convert Website to Android App: Key Steps
1. Gathering Resources and Tools
Before you begin the process of converting your website into an Android app, aimed to "convert website to Android app", it's crucial to gather all the necessary resources and set up the required tools. This preparation phase will ensure a smooth transition and help you avoid potential roadblocks during development.
A. Website Assets and Content
Start by compiling all the assets and content from your website that you intend to include in your Android app. This may include images, logos, videos, text content, and any other media elements that contribute to the overall user experience. Ensure that these assets are organized and readily accessible, as you'll be integrating them into your app's design.
B. Android Development Environment Setup
Setting up your Android development environment is a critical step. Follow these steps to get started:
- Install Android Studio: Android Studio is the official Integrated Development Environment (IDE) for Android app development. Download and install the latest version from the official website.
- Install Java or Kotlin: Android apps are typically developed using Java or Kotlin programming languages. Make sure you have the Java Development Kit (JDK) or Kotlin compiler installed on your system.
- Set Up an Android Emulator: Android Studio provides emulators that simulate various Android devices. Create and configure an emulator to test your app during development.
C. Required Tools and Libraries
To facilitate the conversion process and enhance the functionality of your app, you'll need to utilize specific tools and libraries. Here are some essential ones to consider:
- Webview Component: If you're building a web view-based app (which encapsulates your website within an app), you'll use Android's WebView component. It allows you to display web content within your app.
- Navigation and UI Components: Android offers a range of UI components to create a seamless user experience. Familiarize yourself with layouts, views, and navigation tools to design your app's interface.
- Networking Libraries: You'll likely need to make network requests to load content from your website. Libraries like Retrofit or Volley can simplify the process of fetching data.
- Offline Caching Libraries: For offline access, consider libraries like Room for local database storage and caching, allowing users to access content even without an internet connection.
- App Icon Generator: An appealing app icon is crucial for branding and recognition. Utilize tools like Android Asset Studio to generate app icons of various sizes.
- Analytics and Crash Reporting: Integrate tools like Google Analytics or Firebase to track user interactions, gather insights, and identify and fix app crashes.
- Security Libraries: If your website handles sensitive data, implement security measures using libraries like OkHttp for secure network requests and encryption.
2. Creating a New Android Project
With your resources and tools in place, it's time to create a new Android project that will serve as the foundation for your website-to-app conversion. This section, focused on "convert website to Android app," will guide you through the initial steps of project creation, including selecting an app name, setting up the package, and configuring essential app settings.
A. Choosing the App Name and Package
The app name is the first thing users will see on their devices, so choose a name that reflects your brand and the purpose of the app. Keep it concise, memorable, and aligned with your website's identity.
- App Name: Choose a name that resonates with your website's content and provides an immediate understanding of the app's purpose. Ensure it's unique and not already in use on app stores.
- Package Name: The package name is a unique identifier for your app and is typically in reverse domain format (e.g., com.example.myapp). It's important to choose a package name that you'll use consistently across your app's development.
B. Configuring App Settings
After selecting the app name and package, you'll configure additional settings within Android Studio to customize your app's behavior and appearance.
- Minimum and Target SDK Versions: Define the minimum and target SDK versions your app will support. This determines the range of Android devices your app can run on.
- Orientation and Screen Compatibility: Choose whether your app will support portrait, landscape, or both orientations. Additionally, specify screen sizes and densities that your app will be compatible with.
- Theme and Styles: Select a theme for your app's user interface. Android provides various built-in themes, or you can create your custom styles to match your website's design.
- Color Palette: Incorporate your website's color scheme into the app's design. Consistent branding enhances the user experience and maintains a cohesive visual identity.
- Icons and Splash Screen: Upload your app's icons and splash screen images. These visuals contribute to your app's branding and offer a polished first impression to users.
- Permissions: Determine the permissions your app will require. Be mindful of the permissions you request and ensure they align with the app's functionality.
- Default Language: Set the default language for your app. If your website supports multiple languages, consider incorporating localization for a wider user base.
- Versioning: Assign an initial version number to your app. Versioning is essential for tracking updates and ensuring a seamless user experience.
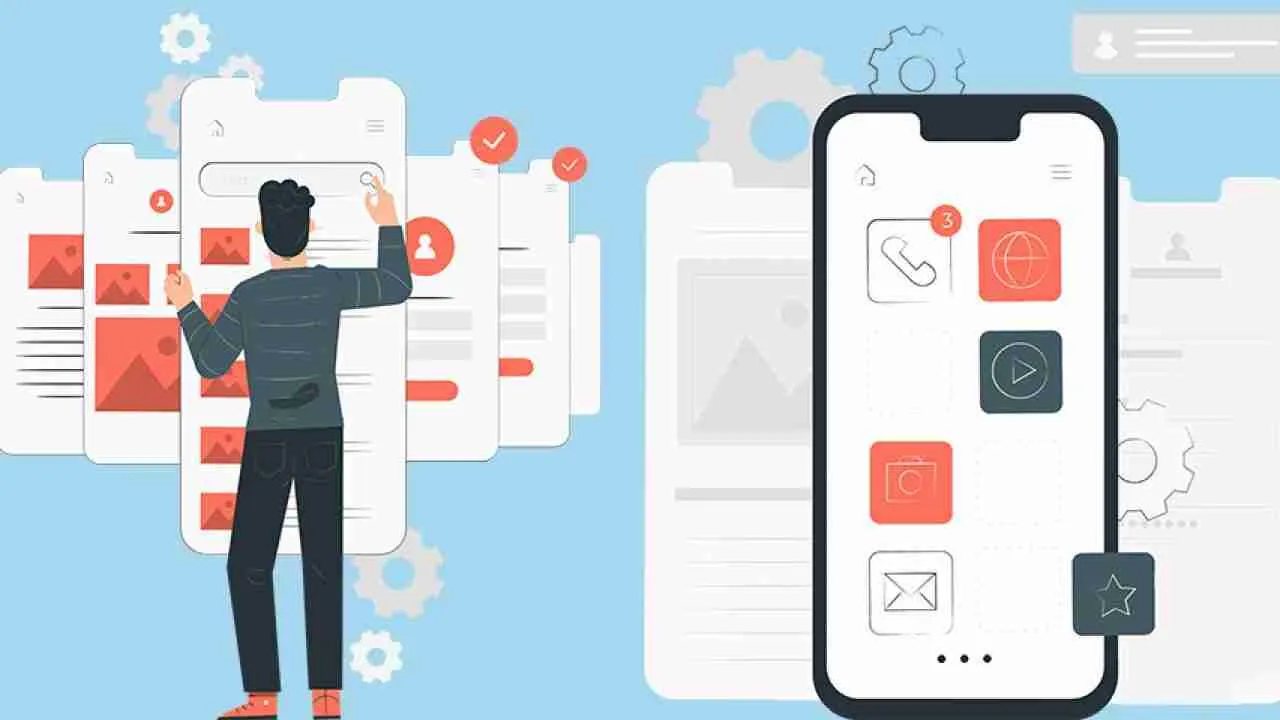
3. Designing the App Interface
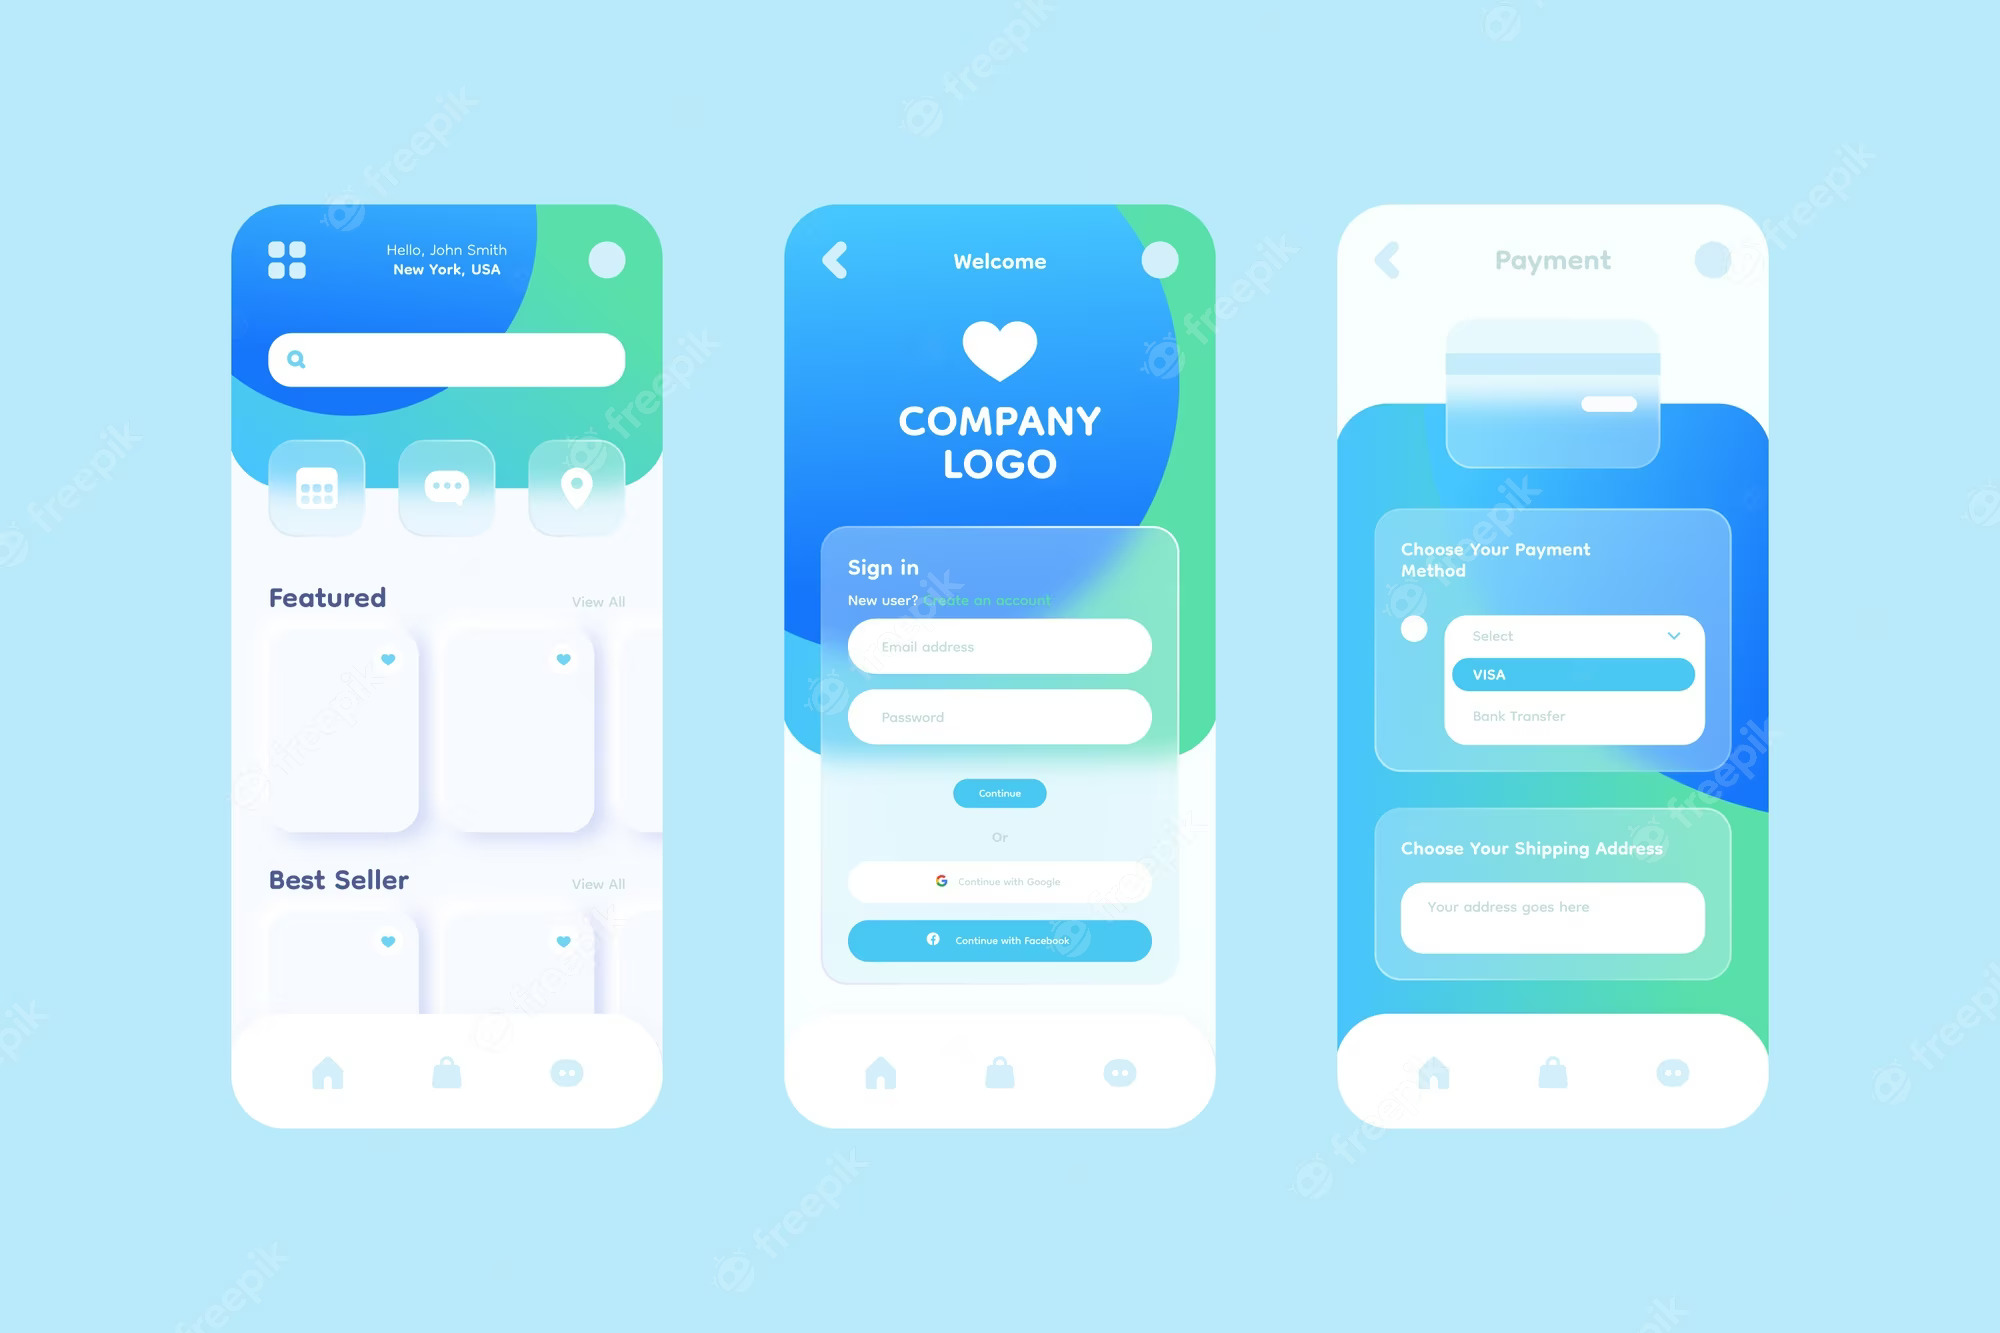
Creating an appealing and user-friendly interface is a crucial aspect of converting your website to an Android app. In this section, focused on how to convert website to Android app, you'll explore the fundamental principles of user interface design, learn about different layouts, views, and components, and discover how to adapt your website's design to fit the constraints of mobile screens.
A. User Interface (UI) Design Principles
User interface design is about more than just aesthetics; it's about crafting an experience that is intuitive, efficient, and enjoyable for users. Here are some key principles to keep in mind:
- Consistency: Maintain a consistent design throughout your app. Use the same colors, typography, and styling elements to create a cohesive and recognizable brand identity.
- Simplicity: Keep the interface clean and clutter-free. Avoid overwhelming users with too much information or too many options on a single screen.
- Navigation: Design a clear and intuitive navigation system. Users should be able to easily move between different sections of your app and access important features without confusion.
- Feedback: Provide visual and interactive feedback to user actions. Buttons, animations, and visual cues should inform users that their interactions have been recognized.
- Responsive Design: Ensure your app's design adapts gracefully to various screen sizes and orientations. The responsive design guarantees a consistent experience across devices.
B. Layouts, Views, and Components
Android provides a variety of layout options and UI components that allow you to structure your app's interface effectively. Here are some key concepts:
- Layouts: Android uses layout managers to arrange UI elements. Common layouts include Linear Layout, Relative Layout, Constraint Layout, and Frame Layout. Choose the appropriate layout based on your design needs.
- Views and Widgets: Views are the basic building blocks of your app's UI, while widgets are pre-built UI components like buttons, text fields, and images. Utilize these to create interactive and visually appealing interfaces.
- Fragments: Fragments are modular UI components that can be combined to create flexible and reusable layouts. They're particularly useful for adapting your app to different screen sizes.
C. Adapting Website Design to Mobile Screens
Adapting your website's design to mobile screens requires careful consideration to ensure a seamless transition. Here are some strategies to effectively adapt your website's design for mobile:
- Prioritize Content: Identify the most critical content and features of your website. Prioritize them for prominent display on mobile screens, while less crucial elements can be placed in secondary menus or screens.
- Responsive Grids: Implement responsive grids to organize content. Use a grid system to create a consistent and balanced layout that adjusts to various screen sizes.
- Font and Typography: Choose fonts that are legible on small screens. Adjust font sizes and spacing to optimize readability without overwhelming users.
- Optimize Images and Media: Resize and compress images to reduce load times without compromising quality. Consider using different image assets for different screen densities.
- Touch-Friendly Interactions: Ensure buttons and interactive elements are appropriately sized for touch input. Leave enough space around buttons to prevent accidental taps.
New to the design world? Our mobile app design agency can help you turn your ideas into engaging designs.
4. Implementing Webview Component

The Webview component is a crucial element when converting a website to an Android app. It enables you to display web content within your app, encapsulating your website's functionality. In this section, you'll learn how to integrate the Webview component, load your website's URL, and manage settings and interactions for a seamless "convert website to android app" process.
A. Adding Webview to the Layout
To incorporate the Webview component into your app's layout, follow these steps:
- Open the XML layout file (e.g.,
activity_main.xml) where you want to place the Webview. - Add a
<WebView>element to the layout. You can adjust attributes like width, height, and alignment based on your design preferences.
B. Loading Website URL
Once the Webview is added to your layout, you can load your website's URL using Java or Kotlin code:This code snippet fetches the Webview from the layout and loads the specified URL.
C. Handling Webview Settings and Interactions
You can customize the behavior of the Webview and handle interactions using various settings and listeners:
- Webview Settings: Adjust Webview settings using the
WebSettingsclass. For example, you can enable JavaScript, set caching behavior, and control zoom settings. - WebviewClient: Extend the
WebViewClientclass to handle navigation events within Webview. You can override methods likeshouldOverrideUrlLoadingintercepting URL clicks and manage navigation. - JavascriptInterface: If your website relies on JavaScript interactions, you can use the
JavascriptInterfacefeature to communicate between your Android app and the JavaScript running within the Webview.
5. Enhancing User Experience
Creating a delightful user experience while you convert website to Android app is at the heart of a successful app. In this section, you'll explore strategies to enhance user satisfaction, including implementing navigation controls, optimizing performance, and incorporating animations.
A. Implementing Navigation Controls
Effective navigation controls ensure that users can seamlessly move through your app. Consider the following techniques:
- Toolbar and Action Bar: Use the Android Toolbar or Action Bar to provide access to important app features, navigation options, and search functionality.
- Navigation Drawer: Implement a navigation drawer for accessing different sections of your app. Users can swipe from the left edge or tap an icon to reveal the navigation menu.
- Tabs: Use tab layouts to organize content into distinct categories, allowing users to switch between different views within the app.
B. Optimizing Performance and Loading Speed
App performance plays a crucial role in user satisfaction. Follow these guidelines to optimize performance:
- Minimize Network Requests: Reduce the number of network requests by caching data locally and only fetching what's necessary.
- Compress and Resize Images: Compress and resize images to minimize file sizes and improve loading times.
- Lazy Loading: Load content as the user scrolls to improve initial load times and reduce data consumption.
- Background Tasks: Move resource-intensive tasks, like data fetching, to background threads to ensure a responsive user interface.
C. Incorporating Appropriate Animations
Thoughtful animations can enhance the user experience and make your app feel more engaging. Here are some animation strategies to consider:
- Transitions: Use animations to smoothly transition between screens or views, creating a visually pleasing flow.
- Feedback Animations: Provide visual feedback for user interactions, such as button presses or item selections, to confirm that their actions have been registered.
- Loading Indicators: Display loading indicators to inform users that content is being fetched, reducing frustration during data retrieval.
- Parallax Effects: Add subtle parallax effects to create a sense of depth and dimension, particularly on scrolling content.
6. Offline Access and Data Caching

Enabling offline access and data caching is a valuable feature that enhances user experience and ensures that your app remains functional even when users are not connected to the internet. In this section, you'll learn how to enable offline mode and implement data caching for your Android app.
A. Enabling Offline Mode
Enabling offline mode allows users to access previously loaded content and perform certain interactions without an active internet connection. Here's how to implement offline mode in your app:
- Check Network Connectivity: Use Android's connectivity manager to detect whether the device is connected to the internet.
- Display Offline Content: When the device is offline, display cached or locally stored content to provide users with a seamless experience.
- Offline Forms and Interactions: Allow users to complete forms or perform interactions that can be synced with your server once a network connection is re-established.
B. Caching Website Content for Offline Use
Caching website content enables your app to store and retrieve data locally, reducing the need for repeated network requests. Implementing data caching involves the following steps:
- WebView Cache: Android's WebView component provides built-in caching mechanisms.
- HTML5 Application Cache: Implement HTML5 application cache to specify which resources should be cached for offline use. This involves adding cache manifest files to your website.
- Local Data Storage: Use Android's local storage options, such as SharedPreferences or SQLite databases, to store data that users may need offline.
- Cache Expiry and Refresh: Set cache expiration policies to ensure that the app periodically fetches updated content from the server.
7. App Security and Permissions

Ensuring the security of your Android app is essential to protect user data and provide a trustworthy experience. This section covers the management of app permissions and the implementation of security best practices, including the use of HTTPS.
A. Managing App Permissions
App permissions regulate the access your app has to device features and user data. Follow these guidelines for effective permission management:
- Request Permissions Dynamically: Request permissions only when they are actually needed, ideally at the moment when the user tries to access a relevant feature.
- Explain Why Permissions are Required: Clearly communicate to users why certain permissions are needed. Provide context and reassure users that their data will be handled responsibly.
- Handle Permission Denials: If a user denies a permission request, gracefully handle the situation and adjust your app's functionality accordingly.
- Check Permission Status: Before using a feature that requires permission, check if the permission has been granted by the user.
B. Implementing HTTPS and Security Best Practices
Implementing security measures is crucial to protect user data and ensure a safe browsing experience. Here are security best practices to consider:
- Use HTTPS: Implement HTTPS for all communication between your app and your website's server. This ensures data encryption and prevents data interception.
- Data Encryption: If your app stores sensitive data locally, ensure that the data is encrypted to prevent unauthorized access.
- Obfuscation: Obfuscate your app's code to make reverse engineering and tampering more difficult.
- User Authentication: Implement secure user authentication mechanisms, such as OAuth, to safeguard user accounts and prevent unauthorized access.
- Regular Updates: Keep your app and any included libraries up to date to patch security vulnerabilities.
- Code Reviews and Testing: Regularly review your code for security vulnerabilities and conduct security testing to identify potential weaknesses.
8. Testing and Debugging
Thoroughly testing and debugging your Android app is crucial to identify and resolve issues before releasing it to users. In this section, you'll learn about different testing methods, including emulator testing, real device testing, and effective debugging and troubleshooting techniques.
A. Emulator Testing
Emulator testing allows you to simulate various Android devices and versions on your computer. Follow these steps to test your app on an emulator:
- Configure Emulator: Set up virtual devices in Android Studio's AVD Manager, selecting different device configurations, screen sizes, and Android versions.
- Run App on Emulator: Launch your app on the emulator to test its functionality, UI design, and responsiveness.
- Test Different Scenarios: Simulate various scenarios, such as different network conditions, screen orientations, and user interactions, to ensure your app performs well in different situations.
B. Real Device Testing
Testing on real devices is essential to ensure your app behaves as expected on actual hardware. Here's how to conduct real device testing:
- Enable Developer Options: On your device, enable Developer Options by tapping the build number in the About Phone section multiple times.
- USB Debugging: Enable USB debugging in Developer Options. Connect your device to your computer using a USB cable.
- Run App on Device: In Android Studio, select your connected device and run your app directly on the device.
- User Experience Testing: Pay attention to user experience, performance, and any device-specific issues that may arise.
C. Debugging and Troubleshooting
Debugging is the process of identifying and resolving issues in your app's code. Here are techniques for effective debugging:
- Logging: Use log statements to print messages and variable values for debugging purposes. View logs in Android Studio's Logcat.
- Breakpoints: Set breakpoints in your code to pause execution at specific points and inspect variables and program flow.
- Debugger: Utilize Android Studio's debugger to step through your code, inspect variables, and identify the cause of errors.
- Error Messages: Pay attention to error messages and stack traces to pinpoint the location and cause of issues.
- Testing Edge Cases: Test your app with unusual inputs or edge cases to identify potential vulnerabilities or unexpected behavior.
Conclusion
Converting a website into an Android app is a rewarding journey that allows you to expand your online presence, engage users on a new platform, and provide a seamless "convert website to Android app" experience across devices. Throughout this comprehensive guide, you've gained insights into the step-by-step process of transforming your website into a fully functional and user-friendly Android app.By converting your website into an Android app, you've taken a significant step towards reaching a broader audience, increasing user engagement, and establishing a stronger brand presence in the mobile landscape. Your journey doesn't end here – it's the start of an exciting adventure in the world of mobile app development. Embrace the challenges and opportunities ahead, and may your app find success and recognition in the vibrant ecosystem of the Google Play Store.Are you looking to convert website to Android app? Our mobile app development agency has profound expertise in converting website to market-fit Android app.