

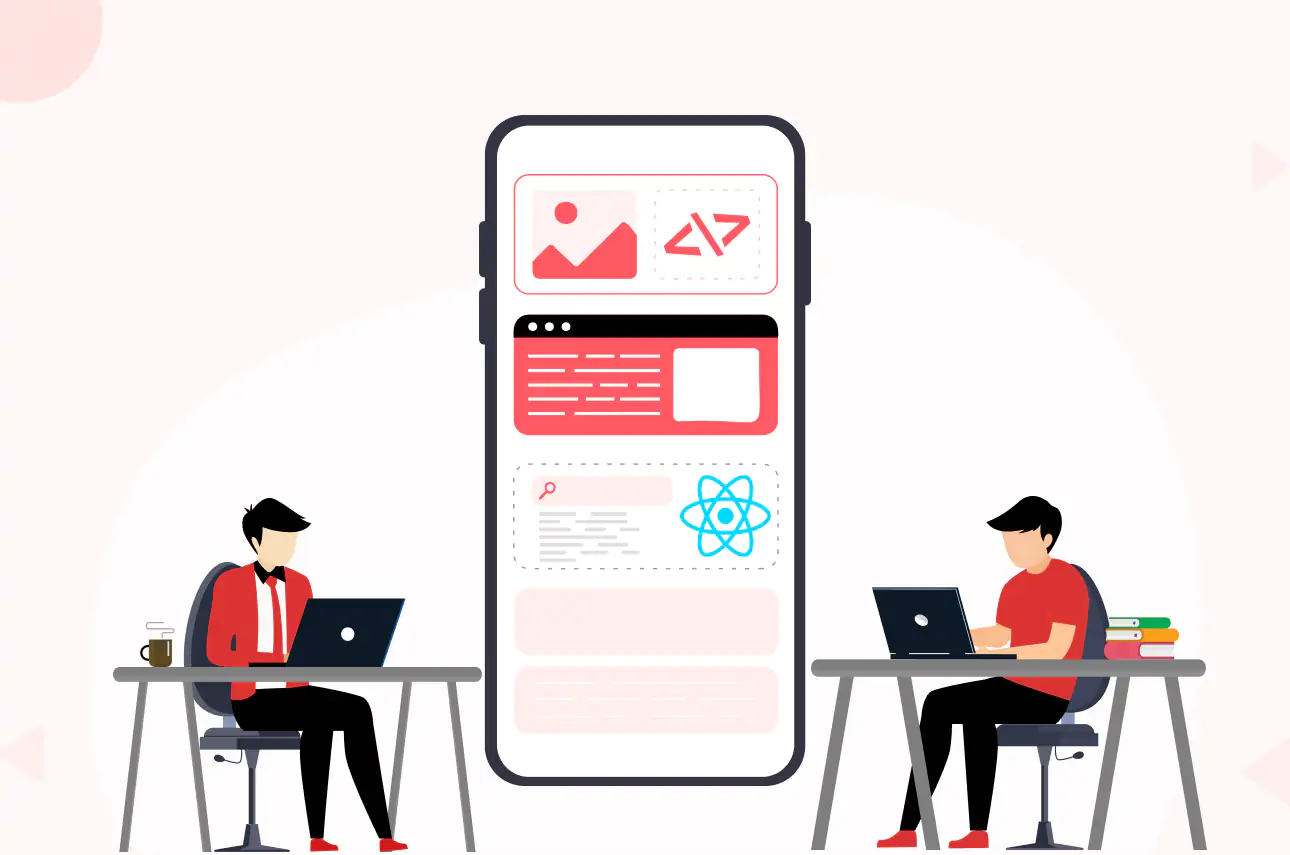
The Android platform has revolutionized the way we interact with mobile technology. Developed by Google, Android has become the world's most popular mobile operating system, powering millions of devices globally. This chapter serves as an introductory guide on how to develop an Android app.With its dominant global market share, it's unsurprising that the majority of app downloads worldwide originate from the Google Play Store.Evolution of AndroidAndroid's journey began in 2003 when Andy Rubin, Rich Miner, Nick Sears, and Chris White founded Android Inc. Google acquired the company in 2005, and the first Android-powered device, the HTC Dream (T-Mobile G1), was released in 2008. Since then, Android has undergone numerous versions and updates, each bringing enhanced features and capabilities.
Explore How to Develop Android App
1. Getting Started with Android Studio
A. Installing Android Studio
Before diving into Android app development, you need to set up your development environment. Android Studio is the recommended Integrated Development Environment (IDE) for building Android apps. Follow these steps to install Android Studio:
- Download Android Studio: Visit the official Android Studio website (developer.android.com/studio) and download the latest version compatible with your operating system (Windows, macOS, or Linux).
- Run the Installer: Once the download is complete, run the installer and follow the on-screen instructions. The installer will guide you through the installation process, allowing you to customize the installation directory and components.
- SDK Components: Android Studio requires various Software Development Kit (SDK) components to function. The installer will offer to install these components for you.
- Emulator Setup: Android Studio includes an emulator for testing your apps on virtual devices. During installation, you can choose to install a system image for a specific Android version.
- First Launch: After installation, launch Android Studio. It may prompt you to import settings from a previous installation or configure your preferences.
B. Tour of Android Studio Interface
Upon launching Android Studio, you'll be greeted with an interface designed to streamline the app development process. Here's a quick overview of the main components:
- Welcome Screen: The welcome screen provides options to open recent projects, start a new project, import a project, or check for updates.
- Toolbar: The toolbar contains buttons for common actions like building, running, and debugging your app. It also houses the AVD Manager (Android Virtual Device) for managing virtual devices.
- Navigation Bar: The navigation bar helps you switch between open files, tools, and services. It includes tabs for the editor, project files, and version control.
- Editor Area: This is where you write and edit your code. Android Studio provides a powerful code editor with features like syntax highlighting, code completion, and error checking.
- Project Pane: The project pane displays your project's directory structure. You can navigate through your project files, packages, and resources from here.
- Component Palette: The component palette provides access to UI elements and widgets that you can drag and drop onto your app's layout.
- Logcat: Logcat is a tool for viewing logs generated by your app. It helps you troubleshoot errors, monitor system messages, and track application behavior.
C. Creating Your First Android Project
Creating a new Android project is a pivotal step in your journey. Android Studio simplifies this process:
- Start a New Project: Click "Start a new Android Studio project" on the welcome screen or navigate to "File > New > New Project."
- Configure Your Project: Choose a template (e.g., Empty Activity) and enter your project details, such as app name, package name, and location.
- Select Target Devices: Choose the minimum API level and device configurations your app will support.
- Customize Activity: Customize the starting activity's name and layout, or use the default settings.
- Finish: Click "Finish" to create your project. Android Studio will generate the initial project files and structure.
D. Exploring Project Structure
Understanding your project's structure is essential for effective development. Android Studio organizes your project files as follows:
- app: This module contains your app's source code, resources, and dependencies.
- res: This directory holds various resource files, including layouts, drawables, values, and more.
- src: Within the app module, this directory contains the Java/Kotlin source code for your app.
- manifests: The AndroidManifest.xml file defines essential information about your app, including its components and permissions.
Discover the essentials of app permissions on Android and learn how to manage them effectively. Read our article to ensure a secure and informed app experience. Click here to learn more!
2. User Interface Design and Layouts
Designing a visually appealing and user-friendly interface is a crucial aspect of how to develop an Android app. This chapter focuses on creating effective user interfaces using XML layouts, managing views and view groups, applying styles and themes, accommodating various screen sizes and densities, and implementing responsive design for multi-screen support.
A. Creating UI with XML Layouts
XML (Extensible Markup Language) is used to define the structure and appearance of your app's user interface. Android provides a robust layout system that allows you to design UIs using XML files. Key concepts include:
- Layout Types: Choose from various layout types like LinearLayout, RelativeLayout, ConstraintLayout, and more, to arrange UI elements.
- Widgets: Utilize widgets like TextView, Button, EditText, ImageView, etc., to create interactive elements.
- Attributes: Customize views using XML attributes, specifying properties like size, color, and alignment.
- Nested Layouts: Combine multiple layouts within one another to create complex UI hierarchies.
B. Views and View Groups
Views are the building blocks of your app's UI, and view groups are containers that hold multiple views. Understanding the hierarchy and properties of views and view groups is essential:
- View Properties: Learn about common view properties like width, height, padding, margin, and background.
- View Groups: Explore various view groups like LinearLayout, FrameLayout, and ScrollView to organize and arrange views.
- View Styling: Apply styles and attributes to views to create consistent and visually appealing designs.
C. Styling and Themes
Consistent styling enhances the visual identity of your app. Android offers styling and theming options to maintain a unified look throughout your app:
- Styles and Themes: Understand the difference between styles (individual view styling) and themes (global app styling).
- Defining Styles: Create and apply custom styles to views using XML or code.
- Applying Themes: Apply themes to your app to ensure a consistent design across activities and fragments.
D. Handling Screen Sizes and Densities
Android devices come in various screen sizes and densities. To ensure your app looks and works well on different devices, follow these guidelines:
- Density-Independent Pixels (dp): Use dp units to define sizes and positions, adapting to different screen densities.
- Layout Variants: Create multiple layouts for different screen sizes and orientations using resource qualifiers (e.g., layout-sw600dp for 7-inch tablets).
- Resource Folders: Organize layout files in specific resource folders to target different device configurations.
E. Responsive Design and Multi-Screen Support
Responsive design is about creating adaptable UIs that work seamlessly across various screen sizes and orientations. Multi-screen support involves optimizing your app for both phones and tablets:
- ConstraintLayout: Utilize ConstraintLayout to create flexible and responsive UIs that automatically adjust to different screen sizes.
- Resource Alternates: Provide alternative resources (images, layouts) for different screen densities and sizes.
- Fragments: Use fragments to create modular UI components that can be rearranged and reconfigured for different screen layouts.
- Tablet Optimization: Design tablet layouts to utilize the larger screen real estate effectively, offering enhanced user experiences.
New to the design world? Our mobile app design agency can help you turn your ideas into engaging designs.
3. User Interaction and Event Handling
User interaction, a vital aspect of how to develop an Android app, lies at the heart of every successful Android app. This chapter delves into various aspects of handling user input, responding to touch and gestures, utilizing dialogs and alerts, and working with menus and action bars to create a seamless and intuitive user experience.
A. Handling User Input
Capturing user input is fundamental to building interactive apps. Learn how to:
- Text Input: Use EditText views to capture text input from users.
- Checkboxes and Radio Buttons: Implement options and selections using checkboxes and radio buttons.
- Buttons: Handle button clicks and trigger actions.
B. Responding to Touch and Gestures
User interaction goes beyond simple input. Android supports a wide range of touch and gesture interactions:
- Touch Events: Capture touch events like tapping, swiping, and dragging on views.
- Gesture Detection: Implement custom gestures using GestureDetector and GestureOverlayView.
- Multi-Touch: Handle simultaneous touch events for multi-touch interactions.
C. Using Dialogs and Alerts
Dialogs and alerts are essential for displaying important information and interacting with users:
- AlertDialog: Create dialogs to show messages, confirmations, or input requests.
- Custom Dialogs: Design custom dialogs with complex layouts and functionalities.
D. Working with Menus and Action Bars
Menus and action bars provide access to app features and actions:
- Option Menus: Create menus that appear when users press the device's Menu button or the app's overflow icon.
- Context Menus: Implement context menus for context-sensitive actions triggered by long presses.
- Action Bar: Utilize the action bar to display app-related actions and navigation.
Discover the nuances between user experience and user interaction in our latest article. Read now to enhance your app design and engagement strategies!
4. Working with Data and Storage
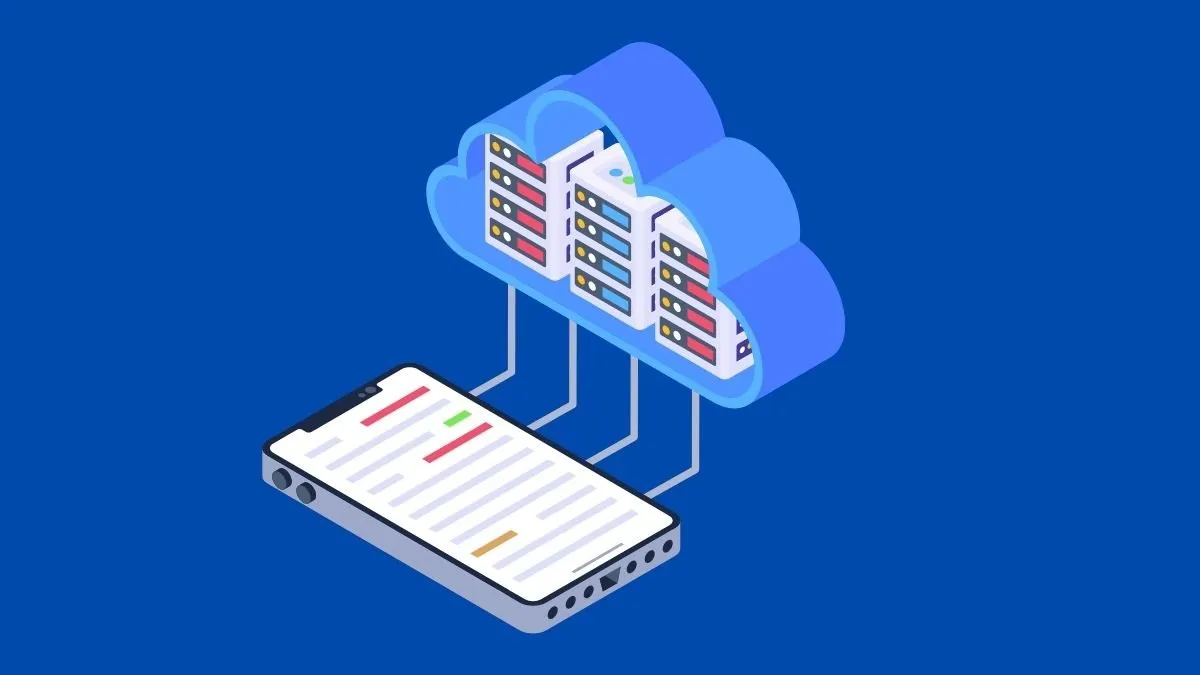
Efficiently managing data and storage is vital for many Android applications and how to develop an Android app. This chapter explores different approaches to working with data, including using SQLite databases for CRUD (Create, Read, Update, Delete) operations, SharedPreferences for simple data storage, handling files and directories, and managing network connectivity and APIs for data exchange.
A. SQLite Database: CRUD Operations
SQLite is a powerful, built-in relational database management system. Learn how to:
- Create and Manage Databases: Set up and manage SQLite databases for structured data storage.
- CRUD Operations: Implement Create, Read, Update, and Delete operations on database records.
- SQLiteOpenHelper: Utilize this helper class to manage database creation and version management.
B. SharedPreferences: Simple Data Storage
For lightweight data storage needs, SharedPreferences offer a simple key-value store:
- Data Storage: Use SharedPreferences to store and retrieve simple data types like integers, booleans, and strings.
- Preference Screens: Create preference screens for user-configurable settings.
C. Working with Files and Directories
Apps often need to work with files and directories for various purposes:
- File I/O: Read and write files on the device's internal and external storage.
- Directory Management: Create, list, and manage directories for organized storage.
D. Network Connectivity and APIs
Modern apps often rely on network connectivity to fetch and exchange data with remote servers:
- Network Requests: Use libraries like Retrofit or HttpURLConnection to make HTTP requests.
- JSON Parsing: Parse JSON responses from APIs to extract relevant data.
- AsyncTask: Handle network operations asynchronously to avoid blocking the main UI thread.
Bonus Article: Best Mobile App Database
5. Working with Multimedia

Multimedia elements such as images, audio, video, and animations play a significant role in enhancing user experiences and engagement. In this chapter, you'll explore how to effectively integrate multimedia content into your Android app, taking your knowledge of how to develop an Android app to the next level.
A. Displaying Images and Icons
Visual elements are essential for creating an attractive user interface. Learn how to:
- ImageView: Display images using the ImageView widget.
- Drawable Resources: Import and use drawable resources for images and icons.
- Image Loading Libraries: Integrate image-loading libraries like Picasso or Glide for efficient image handling.
B. Playing Audio and Video
Audio and video content can enrich your app's functionality and entertainment value:
- MediaPlayer: Play audio and video files using the MediaPlayer class.
- Sound Effects: Implement sound effects to enhance user interactions.
- VideoView: Display videos using the VideoView widget.
C. Using Camera and Capturing Media
Integrating the device's camera allows you to capture photos and videos within your app:
- Camera API: Access the device's camera and capture images or videos.
- Camera Intent: Launch the camera app and receive captured media as result.
D. Animations and Transitions
Animations and transitions can provide a polished and engaging user experience:
- Property Animations: Animate properties of UI elements using ObjectAnimator and ValueAnimator.
- View Transitions: Create smooth transitions between views using the Transition framework.
- Activity and Fragment Transitions: Apply animations when transitioning between activities or fragments.
Related Article: How to Convert Website to Android App.
6. Building Efficient and Performant Apps
Creating apps that run smoothly and efficiently, while learning how to develop an Android app, is crucial for providing a positive user experience. This chapter focuses on techniques and best practices for optimizing app performance and managing resources effectively.
A. Threading and Concurrency
Efficiently managing threads and concurrency is essential to prevent UI freezes and improve responsiveness:
- Main Thread: Understand the importance of the main (UI) thread and its limitations.
- Background Threads: Learn to use background threads for time-consuming tasks to keep the UI responsive.
- Thread Synchronization: Implement synchronization mechanisms to avoid data conflicts in multi-threaded environments.
B. Background Processing and AsyncTask
Performing background tasks efficiently is crucial for maintaining a smooth user experience:
- AsyncTask: Use AsyncTask for simple background operations that involve UI updates.
- Loaders: Implement loaders for managing data loading and display in an activity or fragment.
C. Performance Optimization Tips
Optimizing app performance involves various strategies and considerations:
- Layout Optimization: Optimize your app's layout hierarchy for improved rendering speed.
- View Recycling: Recycle views in lists and grids to reduce memory usage.
- Bitmap Handling: Efficiently manage bitmaps to avoid memory issues.
- Caching: Implement caching mechanisms to reduce network requests and data loading times.
D. Memory Management and Profiling
Effective memory management and profiling help identify and resolve memory-related issues:
- Memory Leaks: Understand and prevent memory leaks to ensure efficient resource usage.
- Memory Profiling: Use tools like Android Profiler to analyze memory usage and identify optimization opportunities.
- Performance Profiling: Profile your app's performance to identify bottlenecks and areas for improvement.
7. Testing and Debugging
Thorough testing and effective debugging are essential to ensure the quality and reliability of your Android app. This chapter, focused on "how to develop an Android app," delves into various testing methodologies, debugging tools, and error-handling techniques to help you identify and rectify issues efficiently.
A. Unit Testing with JUnit and Espresso
Unit testing verifies the functionality of individual components of your app. Learn how to:
- JUnit: Write and execute unit tests for testing methods and classes in isolation.
- Espresso: Create UI tests to simulate user interactions and verify UI behavior.
B. Debugging Tools and Techniques
Debugging is a critical part of the development process to identify and resolve issues:
- Logcat: Use Logcat to view and analyze log messages, exceptions, and system output.
- Debugging Breakpoints: Set breakpoints to pause and inspect code execution during debugging.
- **Debugger: Android Studio's Debugger offers tools to step through code, inspect variables, and track program flow.
C. Handling Errors and Exceptions
Understanding how to handle errors and exceptions is essential for robust app development:
- Exception Handling: Implement try-catch blocks to gracefully handle exceptions.
- Custom Exceptions: Create and handle custom exceptions for specific scenarios.
D. Emulator and Device Testing
Thoroughly testing your app on various devices and configurations is crucial:
- Emulator: Use Android Emulator to simulate different devices and test your app's functionality.
- Real Devices: Test on actual physical devices to identify hardware-specific issues.
8. Publishing and Distribution

Once you've built and thoroughly tested your Android app, the next step is to publish and distribute it to users. This chapter guides you through the process of preparing your app for release, submitting it to the Google Play Store, and exploring app monetization strategies.
A. Signing and Generating APK
Before releasing your app, you need to sign it with a digital certificate to ensure its authenticity:
- Keystore: Understand the importance of keystore files and how to generate and manage them.
- Signing the APK: Sign your app's APK using the Keystore to create a secure and verifiable package.
B. Preparing Your App for Release
Before submitting your app to the Play Store, you should ensure it's ready for public consumption:
- Testing and Quality Assurance: Thoroughly test your app to identify and fix any remaining bugs.
- Optimization: Optimize your app's performance, resources, and UI to provide the best user experience.
- Localization: Consider localizing your app to reach a wider audience.
C. Google Play Store Submission Process
Distributing your app through the Google Play Store provides access to a vast user base:
- Google Play Console: Set up your app's listing, screenshots, description, and other metadata.
- Content Guidelines: Follow Google Play's guidelines for content, design, and other policies.
- App Release: Choose your app's release tracks, manage updates, and roll out releases to users.
D. App Monetization Strategies
If you're interested in generating revenue from your app, consider various monetization strategies:
- Paid Apps: Charge users to download your app.
- In-App Purchases: Offer premium content or features within your app.
- Freemium Model: Provide a free version with optional paid upgrades.
- Ads and Ad Networks: Integrate advertisements to earn revenue from ad impressions.
- Subscriptions: Offer subscription-based access to premium content or features.
Discover proven strategies to market your app successfully! Read our comprehensive article on how to market an app and unlock your app's true potential.
Conclusion
As you conclude this guide on how to develop an Android app, remember that Android app development is a continuously evolving field. Stay updated with the latest Android updates, libraries, tools, and best practices. Join online communities, participate in forums, and engage with fellow developers to share knowledge and learn from each other.Whether you're building simple utility apps or complex, feature-rich applications, your dedication to learning and improving your skills will contribute to the success of your Android app development projects. Embrace challenges, experiment with new technologies, and never stop refining your craft. Your creativity and innovation will shape the future of Android app development.Ready to bring your app idea to life? Partner with us, your trusted Android app development company, and turn your vision into reality. Contact us today!


