
In our increasingly digital world, mobile applications have become an integral part of our lives, shaping how we communicate, work, shop, and more. App development is the process of creating software applications that run on mobile devices like smartphones and tablets. This process involves a combination of design, coding, testing, and deployment to bring an app idea to life. In this article, we will discuss how is app developed. So let’s dive in.
Discover How is App Developed
1. Preparing for Development
Before diving into the technical aspects of how an app is developed, a solid foundation is crucial. Preparing for development involves conceptualizing your app, understanding your potential users, and visualizing its structure. Here are the essential steps in this phase:
A. Defining App Idea and Purpose
- Conceptualization: Begin by brainstorming and refining your app idea. What problem does your app solve? What need does it fulfill? Clearly define the purpose and value proposition of your app.
- Uniqueness: Research existing apps in the same category. Identify what sets your app apart – whether it’s innovative features, improved usability, or a unique approach to solving a problem.
B. Market Research and Target Audience Analysis
- Identify Your Market: Research your target market to understand their preferences, behaviors, and pain points. This research will help you tailor your app to meet their needs effectively.
- Competitor Analysis: Study your competitors’ apps to identify their strengths and weaknesses. This will give you insights into what users are looking for and what gaps you can fill.
- User Personas: Create detailed user personas that represent different segments of your target audience. These personas will guide your design and development decisions by helping you understand user preferences and behaviors.
Discover the power of mobile apps for Your business! Read our article on the top benefits of having a mobile app and elevate your brand’s success today.
C. Creating a Wireframe and Prototype
- Wireframing: A wireframe is a basic visual representation of your app’s layout and structure. It doesn’t include design details but focuses on the placement of elements. Use wireframes to plan the user flow and overall arrangement of screens.
- Prototyping: A prototype is an interactive model of your app. It provides a more tangible feel for how the app will work and allows you to test the user experience. Prototyping tools can help you create clickable prototypes without writing any code.
- Iterative Design: Use the feedback from your wireframes and prototypes to refine your app’s design and functionality. Iterative design ensures that your app aligns closely with user expectations.
Ready to enhance your app development process? Dive into our article on the best prototyping tools for mobile apps and streamline your design workflow today!
2. Choosing the Right Technology Stack
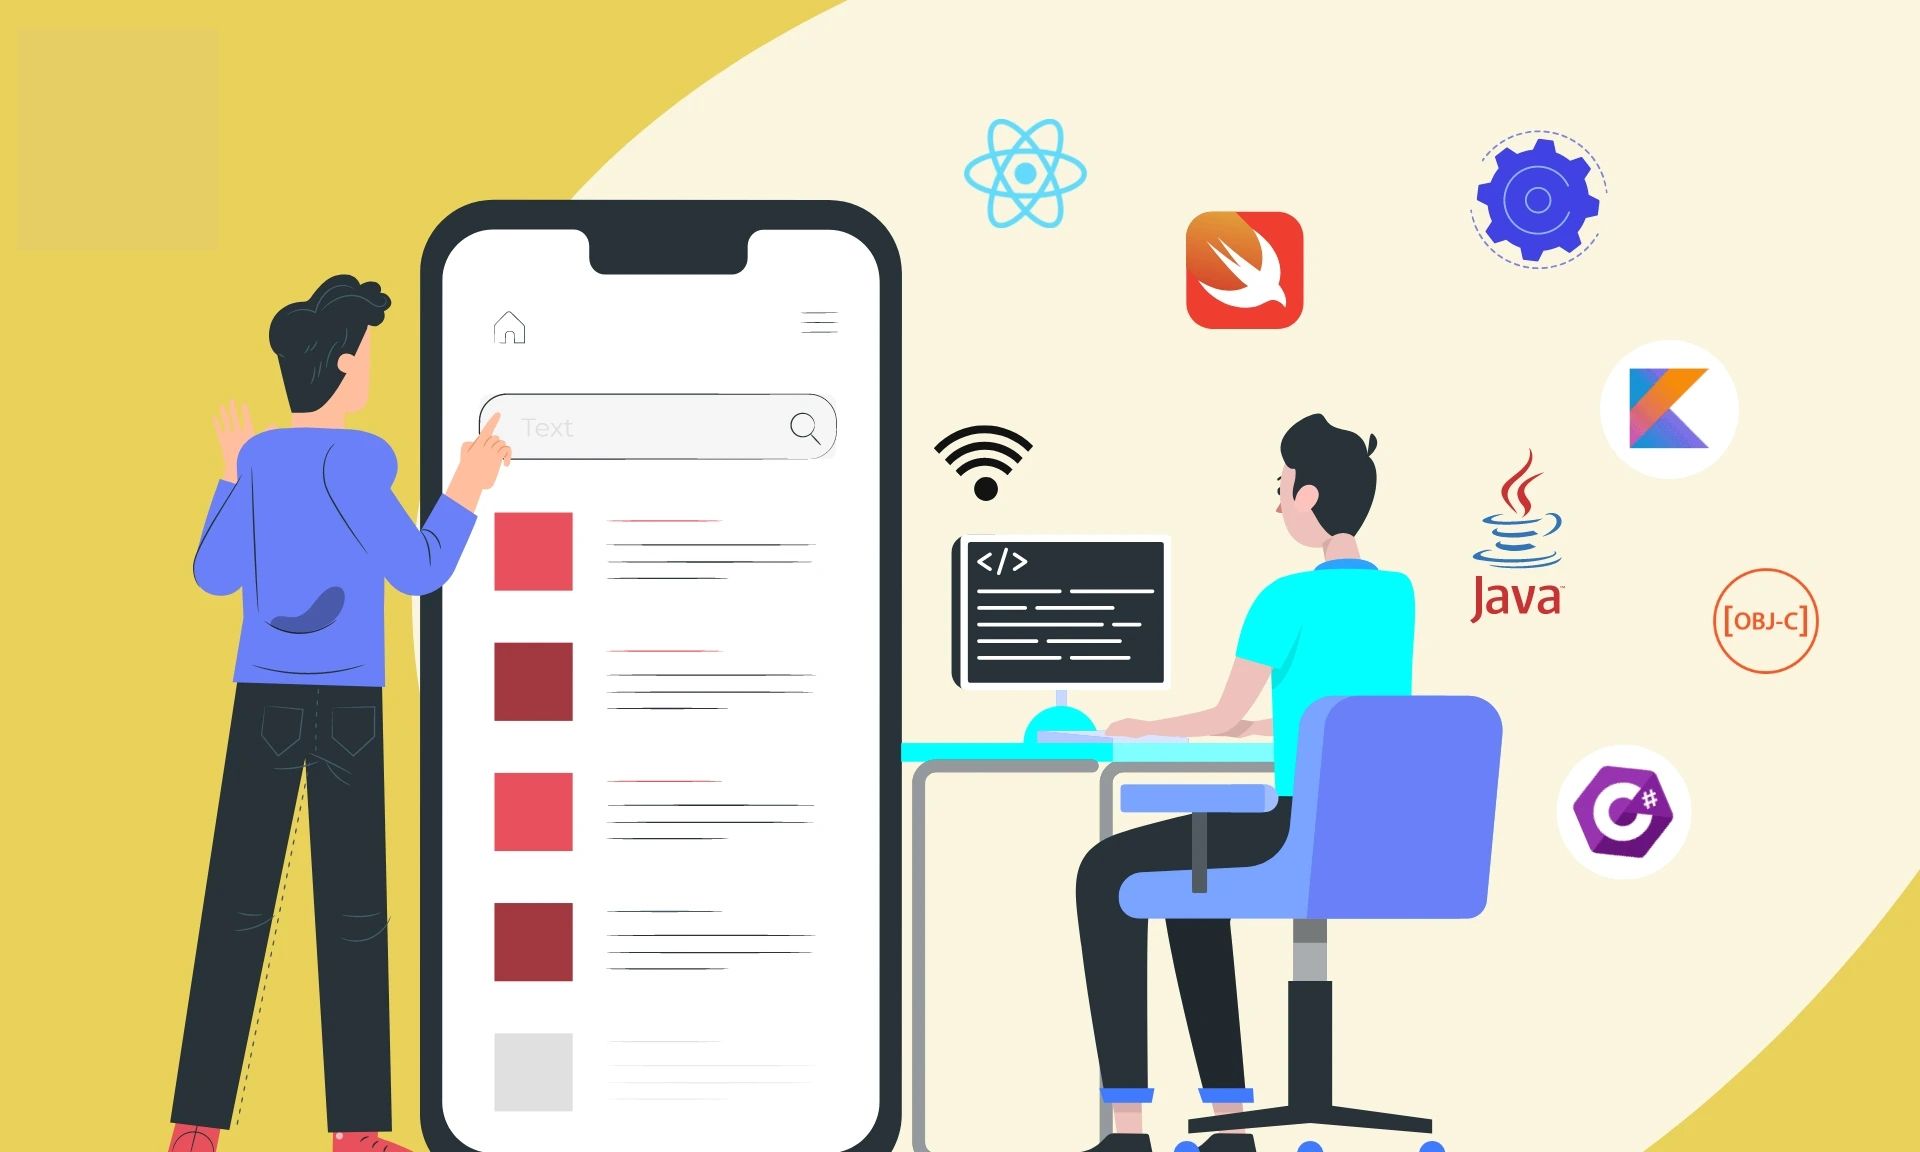
Selecting the appropriate technology stack is a critical decision in how is app developed. It lays the foundation for the app’s performance, user experience, and future scalability. Here’s an overview of key considerations and components within the technology stack:
A. Selecting the Development Platform (iOS, Android, Cross-Platform)
- Native Development:
- iOS (Apple): Swift is the primary programming language for iOS apps. Apple’s ecosystem provides tools like Xcode and a consistent user experience across devices.
- Android (Google): Kotlin is becoming the preferred language for Android development due to its modern features. Android Studio is the official integrated development environment.
- Cross-Platform Development:
- React Native: Developed by Facebook, React Native uses JavaScript to create native-like apps for multiple platforms. It allows code sharing between iOS and Android.
- Flutter: Developed by Google, Flutter uses Dart programming language. It offers a rich set of widgets and promises high-performance, customizable UI across platforms.
Read our article on the advantages of cross-platform mobile app development and unlock new possibilities for your app projects.
B. Programming Languages (Swift, Kotlin, JavaScript)
- Swift (iOS): Swift is designed for iOS and macOS development. It’s known for its safety features, concise syntax, and performance optimization, making it a preferred choice for iOS apps.
- Kotlin (Android): Kotlin is designed to be fully interoperable with Java and offers modern language features that make Android development more efficient and concise.
- JavaScript (React Native): React Native uses JavaScript, a widely-used language, to build cross-platform apps. It allows web developers to transition into mobile app development more easily.
Related Article: Best Javascript Framework for Mobile Apps
C. Frameworks and Libraries (React Native, Flutter)
- React Native:
- React: A JavaScript library for building user interfaces. React Native uses components to build UI elements.
- Native Modules: Allows direct integration of native code for platform-specific functionalities.
- Redux: A state management library for managing app state and data flow.
- Flutter:
- Widgets: Flutter offers a rich set of customizable widgets for building UI components.
- Hot Reload: Flutter’s hot reload feature allows developers to see changes instantly during development.
- BLoC Pattern: A state management approach used in Flutter to separate UI components from business logic.
3. Setting Up the Development Environment
Creating a conducive development environment is essential for efficient and smooth app development. This environment, focused on “how is app developed,” includes the necessary tools, software, and configurations to streamline the coding and testing process. Here’s a guide to setting up your development environment:
A. Installing Integrated Development Environments (IDEs)
- Xcode (iOS Development):
- Xcode is the official IDE for iOS and macOS app development.
- Download and install Xcode from the Mac App Store.
- Xcode provides a comprehensive set of tools, including a code editor, interface builder, debugger, and simulator.
- Android Studio (Android Development):
- Android Studio is the official IDE for Android app development.
- Download and install Android Studio from the official website.
- Android Studio offers tools like a code editor, layout designer, emulator, and debugging features.
B. Configuring Emulators and Simulators
- iOS Simulator (Xcode):
- Xcode comes with the iOS Simulator, which allows you to test your app on different iOS devices without physical devices.
- Launch the simulator from Xcode and choose the desired device and iOS version to simulate.
- Android Emulator (Android Studio):
- Android Studio provides the Android Emulator to test apps on various Android devices and versions.
- Set up virtual devices with different specifications and launch them for testing.
Turn your ideas into reality! Partner with our leading Android app development company and create cutting-edge apps that captivate users.
C. Version Control with Git
Version control is crucial for tracking changes to your codebase, collaborating with team members, and maintaining a history of your app’s development.
- Installing Git:
- Download and install Git from the official website or use a package manager.
- On macOS, you can also use Xcode’s Command Line Tools that include Git.
- Setting Up a Git Repository:
- Create a new Git repository for your app’s codebase.
- Use the
git initcommand in your project directory to initialize a repository.
- Committing Changes:
- Use
git addto stage changes andgit committo create a snapshot of your code at a specific point. - Add meaningful commit messages to document the purpose of each change.
- Use
- Branching and Merging:
- Create branches to work on specific features or fixes without affecting the main codebase.
- Merge branches back into the main branch (often named ‘master’ or ‘main’) using
git merge.
- Collaboration and Remote Repositories:
- Use platforms like GitHub, GitLab, or Bitbucket to host remote repositories.
- Collaborate with team members by pushing and pulling changes to and from remote repositories.
Ready to bring your app idea to life? Partner with our top-tier mobile app development agency in Singapore. Let’s turn your vision into a stunning and functional mobile app. Contact us today!
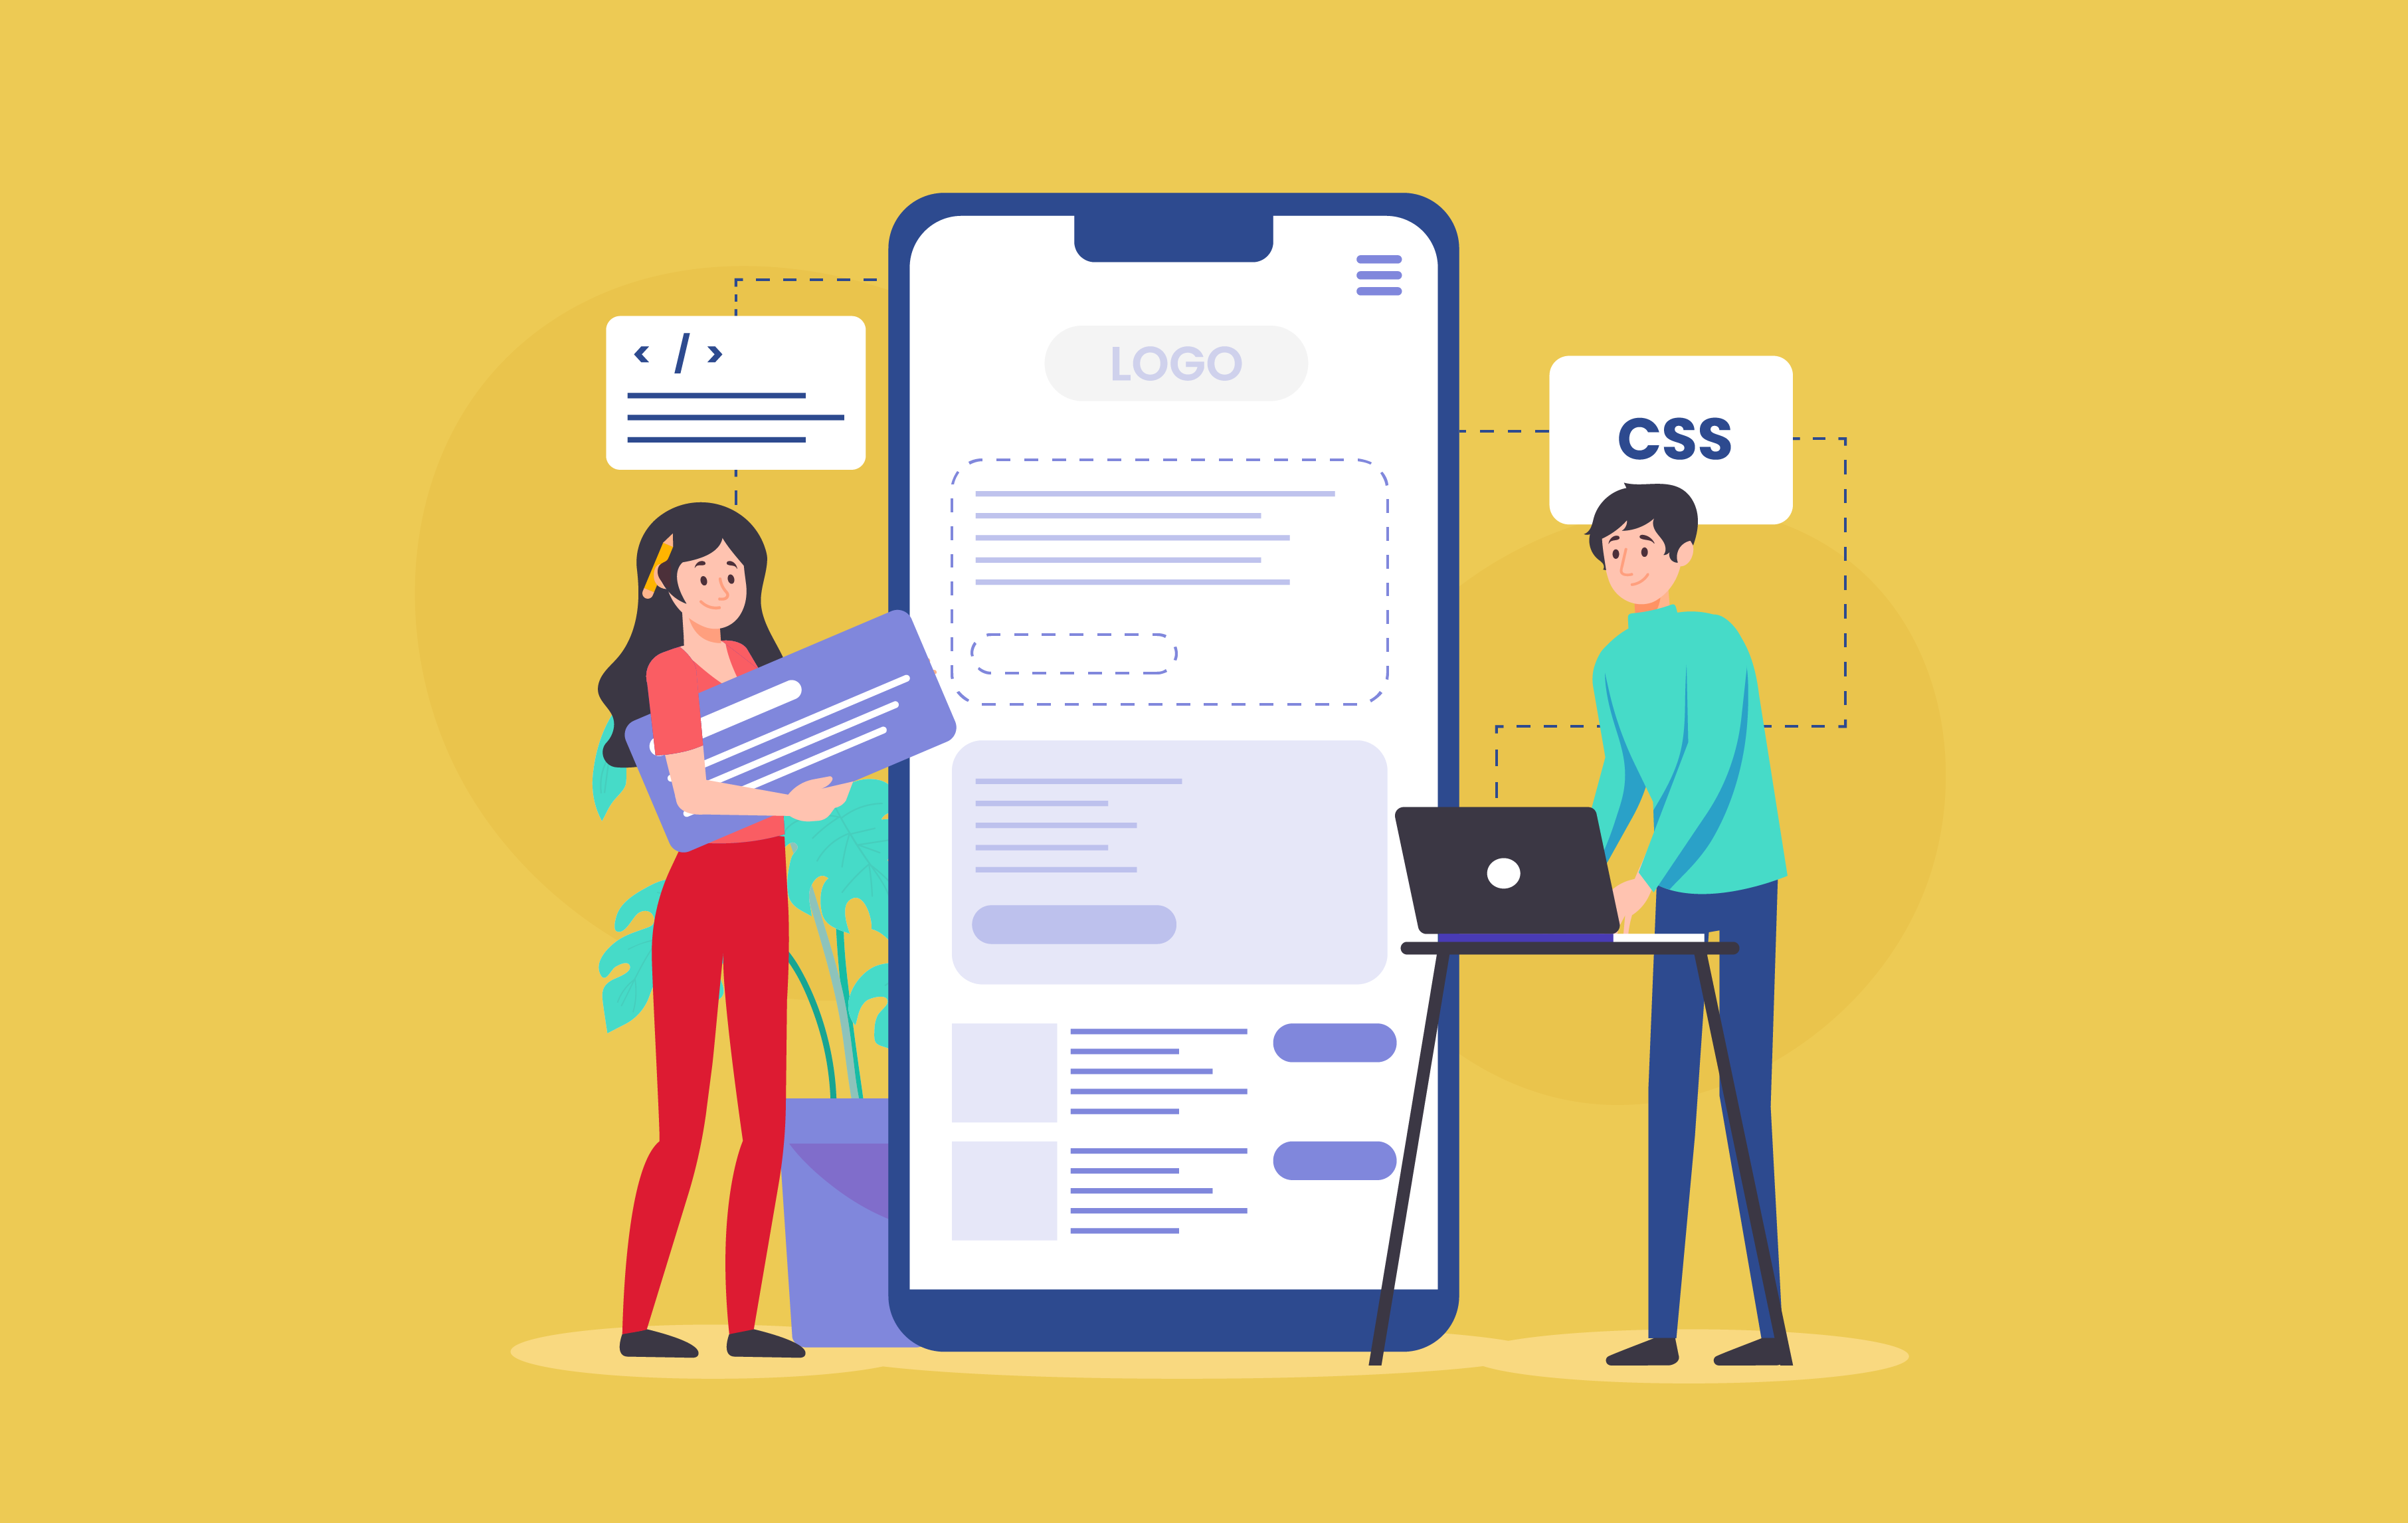
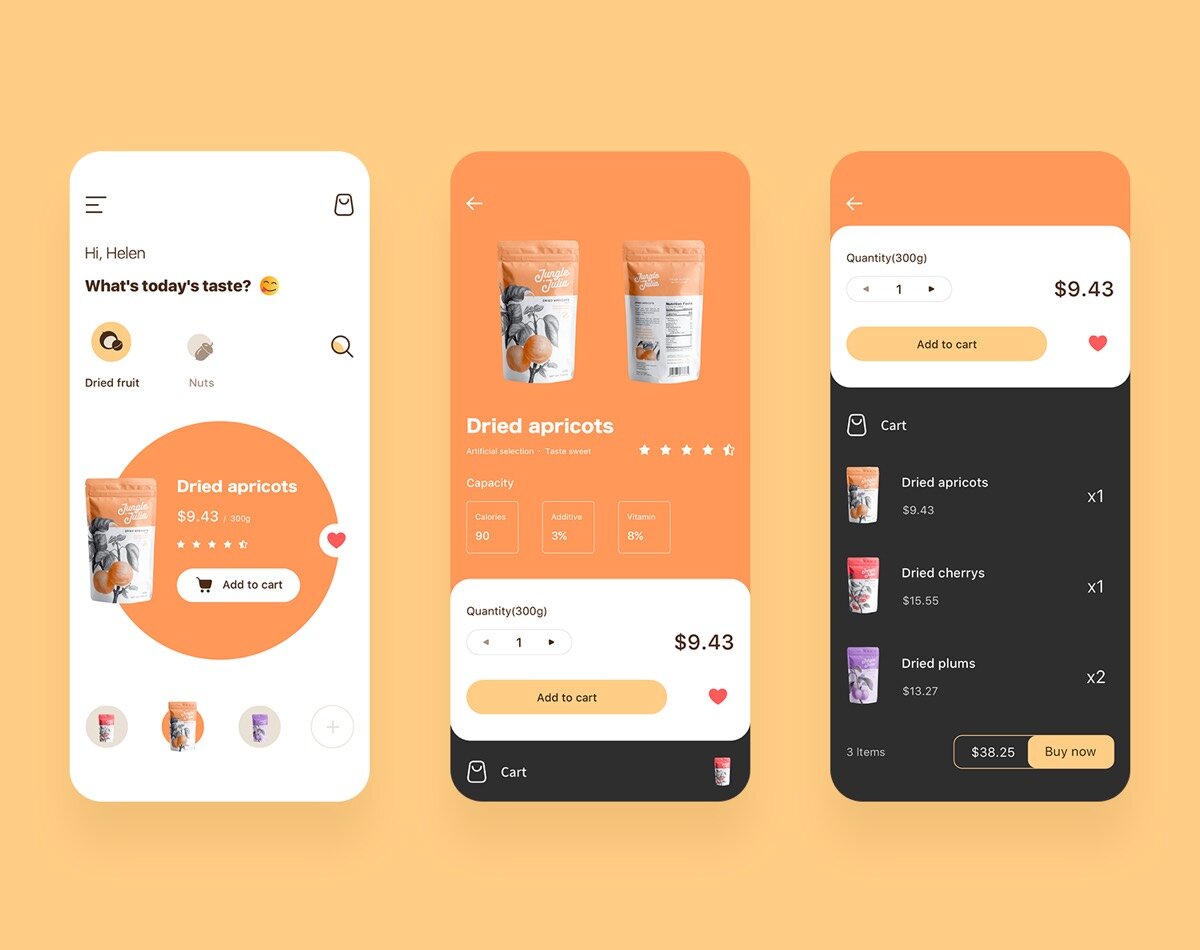
4. Designing the User Interface (UI)
The user interface (UI) of your app is the bridge between your users and the functionality your app offers. An effective UI enhances the “how is app developed” user experience, simplifies interaction, and communicates the app’s purpose. Here’s how to design a compelling user interface:
A. Principles of User-Centered Design
- Simplicity: Keep the UI simple and uncluttered. Avoid overwhelming users with excessive information or options.
- Consistency: Maintain consistency in design elements, such as colors, typography, and navigation. Consistency creates a familiar and intuitive experience.
- Hierarchy: Organize content with a clear hierarchy. Important information should be prominent, while secondary elements should take a back seat.
- Feedback: Provide visual and interactive feedback to user actions. This assures users that their actions are registered and understood.
- Accessibility: Design with accessibility in mind. Ensure your app is usable by people with disabilities, using elements like proper color contrast and screen reader compatibility.
B. Creating User-friendly and Intuitive Interfaces
- User Flows: Plan user flows that guide users seamlessly through your app’s features. Map out how users will navigate and interact with the app.
- Navigation: Design a clear and intuitive navigation system. Use labels, icons, or gestures that users can easily understand.
- Visual Elements: Choose visuals (icons, buttons, images) that align with your app’s purpose and create a visually pleasing experience.
- Whitespace: Use whitespace strategically to create a balanced layout and enhance readability. It helps prevent visual clutter.
- Typography: Select fonts that are easy to read on various screen sizes. Use font sizes and styles consistently for headings and body text.
C. Implementing Responsive Design
- Adaptability: Design your app to work well on different screen sizes and orientations. Responsive design ensures a consistent experience across devices.
- Flexibility: Use flexible layouts and fluid design elements that adjust to various screen dimensions without distortion.
- Media Queries: Use media queries (CSS) to apply different styles based on the device’s screen size. This ensures optimal presentation on different devices.
- Mobile-First Design: Start designing for mobile devices and progressively enhance the experience for larger screens. This approach prioritizes essential features and content.
New to the design world? Our mobile app design agency can help you turn your ideas into engaging designs.
5. Backend Development
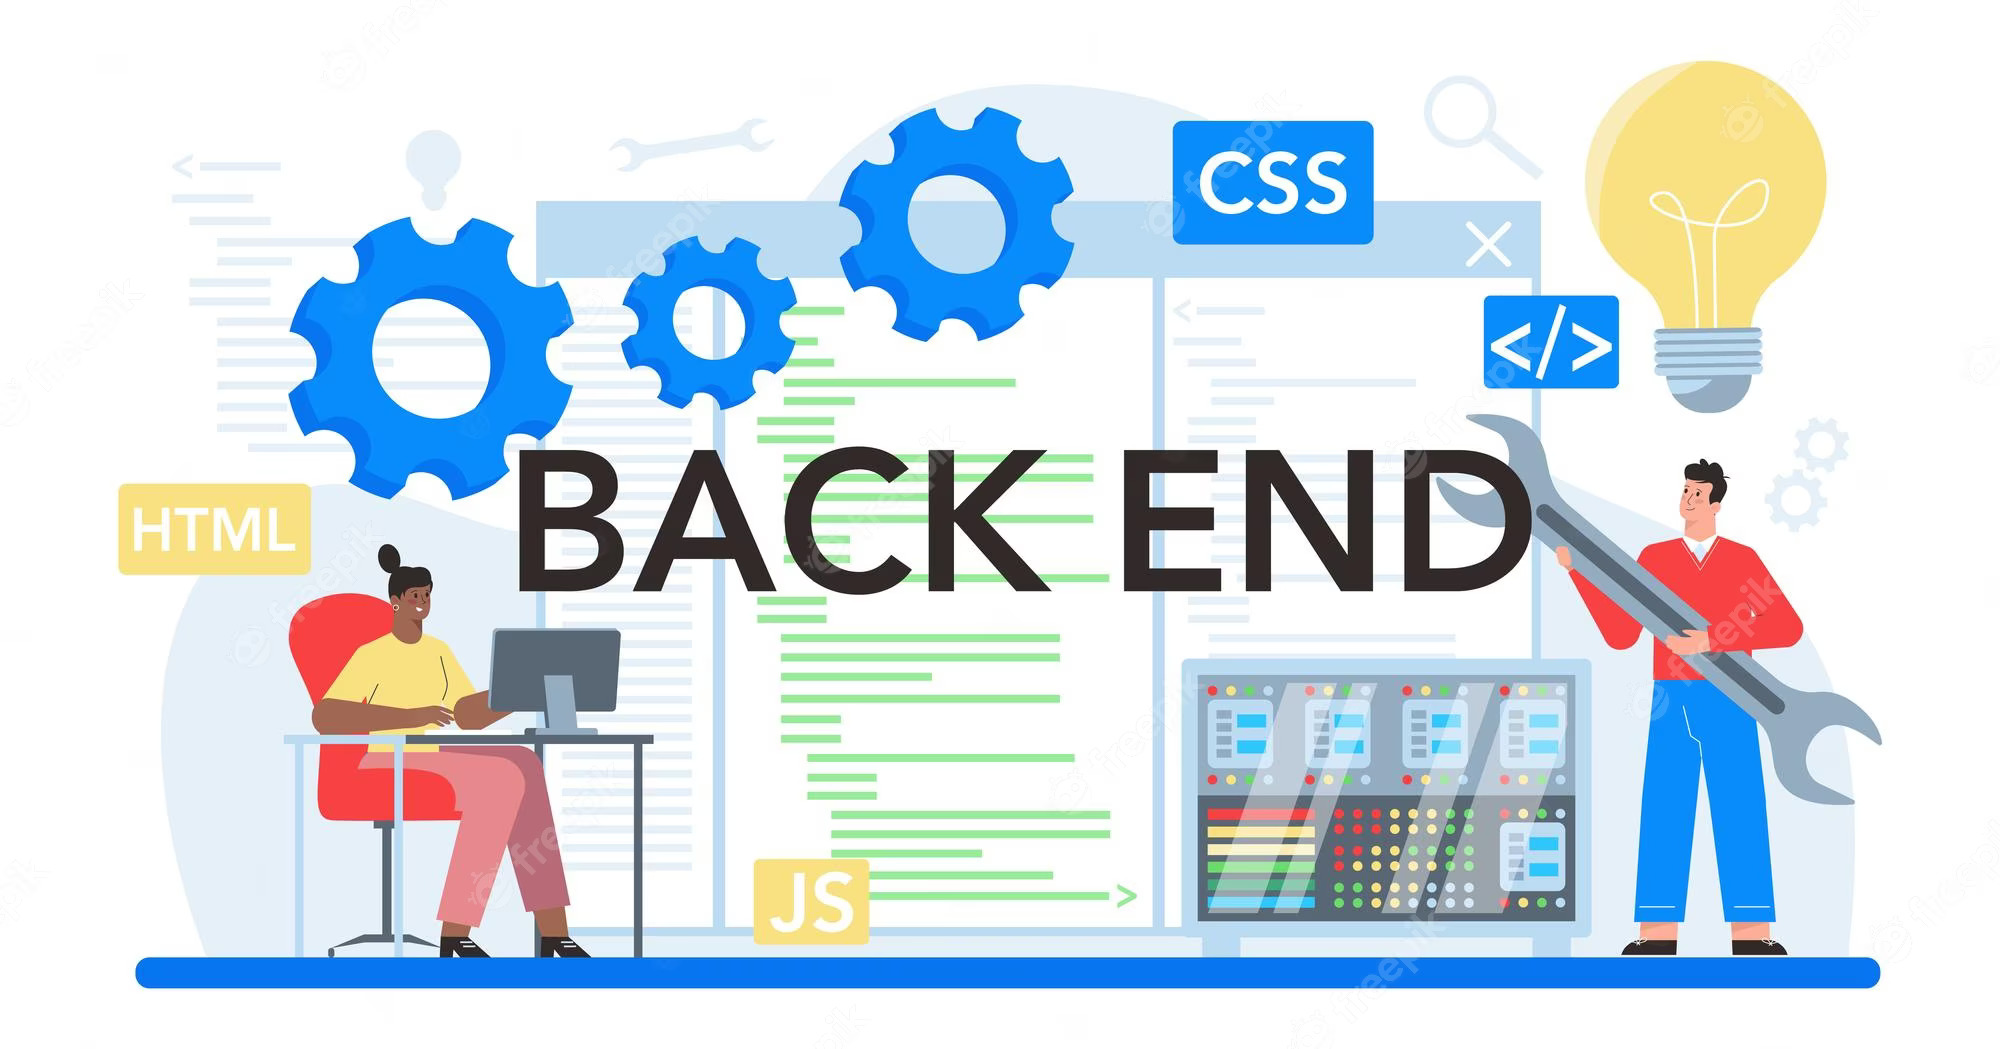
The backend of your app powers the core functionality that users interact with on the frontend and contributes to how is app developed. It handles data storage, business logic, and communication between various components. Here’s a breakdown of key aspects of backend development:
A. Designing the App Architecture
- Architecture Patterns: Choose an architecture pattern that suits your app’s complexity. Common patterns include MVC (Model-View-Controller), MVVM (Model-View-ViewModel), and Clean Architecture.
- Modularity: Divide your backend into modules, each responsible for specific functionalities. This promotes maintainability and scalability.
- Separation of Concerns: Separate different concerns, such as data storage, logic processing, and API communication, to ensure a more manageable and organized codebase.
B. Setting Up Servers and Databases
- Server Setup: Choose a hosting provider or set up your own server infrastructure. Consider factors like scalability, security, and geographic location.
- Database Selection: Choose a database type based on your app’s requirements. Options include relational databases (MySQL, PostgreSQL) and NoSQL databases (MongoDB, Firebase).
- Data Modeling: Design your database schema to represent your app’s data in an efficient and organized manner. This involves defining tables, relationships, and data types.
Bonus Article: Best Mobile App Databases
C. Creating APIs for Communication
- RESTful APIs: Design Representational State Transfer (REST) APIs that adhere to REST principles. This simplifies communication between the frontend and backend.
- Endpoints: Define endpoints for different operations (GET, POST, PUT, DELETE) that the frontend can use to request or send data.
- Authentication and Authorization: Implement secure authentication mechanisms (such as JWT or OAuth) to verify user identities. Authorization ensures users have the necessary permissions for certain actions.
Related Article: How to Develop Backend for Android app
6. Frontend Development

Frontend development, a crucial phase in how is app developed, focuses on creating the visual and interactive elements that users directly engage with. It involves implementing the user interface, handling user interactions, and ensuring a smooth user experience. Here’s a breakdown of key aspects in frontend development:
A. Implementing App Navigation and Routing
- Navigation Structure: Plan and design the app’s navigation flow, including the arrangement of screens and how users will transition between them.
- Routing: Use a routing library or framework to define routes for each screen or view. Routes determine which content is displayed based on the user’s interactions.
- Deep Linking: Implement deep linking to allow users to navigate directly to specific parts of your app from external sources like URLs.
B. Integrating UI Components and Views
- UI Libraries: Utilize UI libraries or frameworks (such as Bootstrap, Material-UI, or UIKit) to ensure consistent styling and design throughout the app.
- Custom Components: Develop custom UI components that match your app’s unique design and functionality requirements.
- Responsive Design: Design UI elements to adapt to various screen sizes and orientations, ensuring a seamless experience across devices.
C. Handling User Input and Validation
- User Input: Implement forms, buttons, and other input elements to capture user data and actions.
- Validation: Validate user inputs to prevent errors and improve data integrity. Provide real-time feedback to users when input is incorrect.
- Error Handling: Design user-friendly error messages and handling mechanisms that guide users when something goes wrong.
Ready to elevate your app’s frontend? Dive into our comprehensive guide on frontend development outsourcing and unlock the potential of seamless user experiences. Read now!
7. Adding Functionality
Functionality is the heart of your app, providing the features and capabilities that users rely on in the process of how is app developed. Adding meaningful and well-implemented functionality ensures that your app serves its purpose effectively. Here’s a breakdown of key aspects when adding functionality to your app:
A. Incorporating User Authentication and Authorization
- User Registration and Login: Implement secure user registration and login processes. Use encryption and validation to protect user credentials.
- Authentication: Implement authentication mechanisms such as OAuth or JSON Web Tokens (JWT) to verify user identities.
- Authorization: Control access to different parts of your app based on user roles and permissions. Ensure that users only have access to the features they are allowed to use.
B. Implementing App Features (e.g., Notifications, Geolocation)
- Notifications: Integrate push notifications to keep users informed about updates, messages, or relevant information even when the app is not active.
- Geolocation: Use the device’s geolocation capabilities to provide location-based features, such as mapping, navigation, or location-based recommendations.
- Camera and Media: Incorporate the device’s camera and media capabilities for functionalities like capturing photos, and videos, or scanning QR codes.
- Sensors and Hardware: Utilize sensors like accelerometers, gyroscopes, and hardware functionalities like Bluetooth or NFC for specialized features.
Explore the World of Mobile App Features! Dive into our article to discover the most popular features that make apps stand out. Read now and elevate your app development game!
C. Working with Third-Party APIs
- API Integration: Integrate third-party APIs to leverage external services and data. Examples include payment gateways, social media sharing, or weather data.
- API Authentication: Follow the documentation provided by the third-party service to authenticate your app’s requests and ensure secure communication.
- Error Handling: Implement proper error handling mechanisms when interacting with external APIs to handle scenarios like connection issues or API rate limits.
8. Testing and Debugging
Testing and debugging are crucial steps in the app development process, ensuring “how is app developed” functions as intended and provides a seamless user experience. Here’s an overview of key aspects of testing and debugging:
A. Unit Testing and Test-Driven Development
- Unit Testing: Unit tests focus on testing individual units of code in isolation to ensure they work correctly. Write tests that cover different scenarios and edge cases.
- Test-Driven Development (TDD): In TDD, write tests before writing the actual code. This helps guide development and ensures that code meets specified requirements.
- Testing Frameworks: Use testing frameworks and libraries specific to your chosen programming language or platform to streamline unit testing.
B. UI Testing and Automated Testing
- UI Testing: UI tests verify that the user interface behaves as expected. Write UI tests to simulate user interactions and ensure proper functioning.
- Automated Testing: Automated tests, including unit tests and UI tests, can be run automatically, saving time during the testing process.
- Continuous Integration (CI): Integrate your automated tests into a CI/CD (Continuous Integration/Continuous Deployment) pipeline to automatically test and deploy code changes.
C. Identifying and Resolving Bugs and Errors
- Logging: Incorporate logging statements in your code to track program flow and identify issues. Use tools like Xcode’s console or Android’s Logcat for debugging.
- Debugging Tools: Utilize debugging tools provided by your IDE to step through code, inspect variables, and pinpoint the source of errors.
- Error Tracking Services: Implement third-party error tracking services to monitor app crashes and errors in real time. These services provide insights into issues users encounter.
9. Deployment and Distribution
After the development and testing phases, it’s time to bring your app to the hands of users. Deployment, or how is app developed, involves making your app available on app stores and other distribution channels. Here’s a guide to the deployment and distribution process:
A. Preparing Apps for App Stores (App Store, Google Play)
- App Store Guidelines: Review the guidelines provided by the app stores (App Store for iOS and Google Play for Android). Ensure your app complies with their policies and requirements.
- App Icons and Screenshots: Design visually appealing app icons and screenshots that showcase your app’s features and user interface.
- App Description and Metadata: Craft an engaging app description and provide metadata like keywords and categories to help users discover your app.
- App Store Optimization (ASO): Optimize your app’s listing for search visibility and conversions. Use relevant keywords and high-quality images.
According to statistics, the combined number of mobile apps on the Google Play Store and Apple App Store exceeds 5.7 million.
B. Generating App Builds and Signing
- App Builds: Generate the final build of your app, which includes all the compiled code and assets required to run the app.
- App Signing: Sign your app using cryptographic keys to verify its authenticity and integrity. This process ensures that users receive a secure and untampered version of your app.
- Keystore (Android) and Provisioning Profile (iOS): For Android, use a keystore file to sign your app. For iOS, create a provisioning profile to sign your app before submission.
C. Submission and Review Process
- App Store Submission: Submit your app to the respective app stores through developer accounts. Provide all required information and assets.
- Review Process: App stores review submissions to ensure they meet their guidelines and policies. This process can take a few days to a couple of weeks.
- App Store Communication: Stay responsive during the review process. If any issues arise, address them promptly to expedite the approval.
- App Approval and Rejection: Your app might be approved or rejected based on the review. If rejected, make necessary fixes and resubmit.
Bonus Article: How to Market a Mobile App
10. Post-Launch Activities

Launching your app is just the beginning of its journey. Post-launch activities, part of the process of how is app developed, are crucial for maintaining app quality, improving user satisfaction, and ensuring the app’s long-term success. Here’s a breakdown of key activities in the post-launch phase:
A. Monitoring and Analytics
- App Analytics: Integrate analytics tools (such as Google Analytics or Firebase Analytics) to gather insights into user behavior, engagement, and usage patterns.
- User Metrics: Monitor metrics like user retention, session length, and conversion rates to understand how users interact with your app.
- Crash Reporting: Use crash reporting tools to identify and address app crashes and issues as they occur.
B. Gathering User Feedback
- Feedback Channels: Provide multiple channels (in-app feedback forms, email, social media) for users to share their opinions, suggestions, and concerns.
- User Surveys: Conduct surveys to gather structured feedback on specific aspects of your app’s usability, design, and features.
- App Reviews: Regularly check and respond to app store reviews, addressing user feedback and acknowledging their positive experiences.
C. Continuous Improvement and Updates
- Iterative Development: Based on user feedback and analytics, prioritize improvements and new features to enhance your app’s user experience.
- Bug Fixes: Continuously monitor and address reported bugs and issues to maintain app stability and performance.
- Version Updates: Release regular updates to introduce new features, fix bugs, and keep your app up-to-date with the latest platform changes.
Explore the future of mobile app development! Read our article to discover the exciting trends and innovations shaping the app landscape. Don’t miss out!
Conclusion
Developing a successful app is a journey that requires careful planning, dedicated effort, and continuous improvement. From understanding how is app developed, from the initial idea to the post-launch activities, every step in the process contributes to the creation of a valuable and engaging app for users.
Remember that the app development landscape is constantly evolving, so staying updated with the latest technologies and trends is essential for ongoing success. Whether you’re building a native app for a specific platform or a cross-platform solution, the journey is both rewarding and challenging. Embrace the iterative nature of development, learn from user feedback, and adapt to changing user needs to create apps that make a positive impact in the digital world.
Looking to hire app developer in Singapore to work collaboratively on your mobile app project? Our professionals have decade-long experience in building cutting-edge digital solutions for iOS, Android and Cross-Platform.


